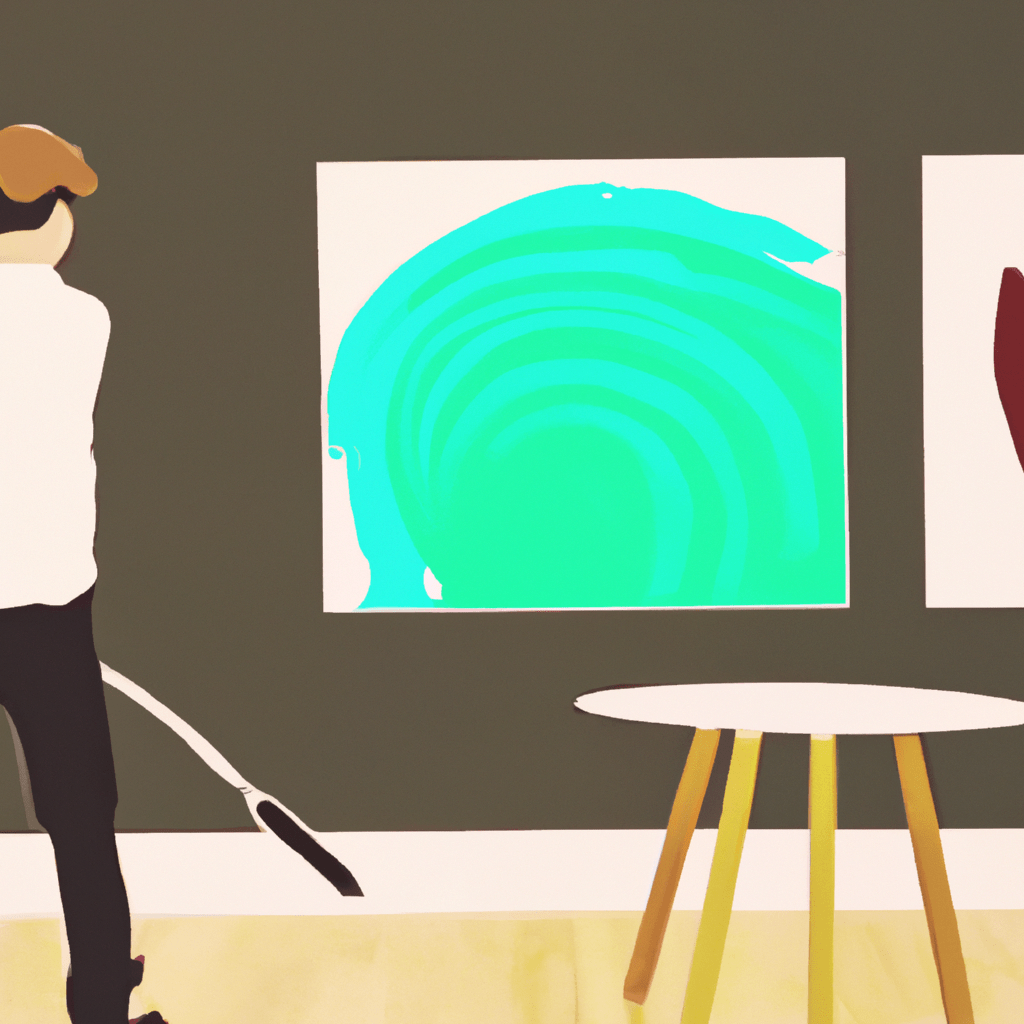
Tips for Creating Illustrations with a Paper Cutout Style

Illustrations with a paper cutout style have gained popularity in recent years due to their unique and visually appealing aesthetic. This style involves creating artwork that mimics the look of paper cutouts, often with bold colors, sharp edges, and a three-dimensional appearance. If you’re interested in creating illustrations with a paper cutout style, this article will provide you with valuable tips and insights to help you get started.
1. Understand the Paper Cutout Style
Before diving into creating illustrations with a paper cutout style, it’s important to have a clear understanding of what this style entails. Take the time to study existing examples of paper cutout illustrations to familiarize yourself with the key characteristics and techniques used. Pay attention to the use of bold colors, simple shapes, and the illusion of depth created through layering.
One great example of a paper cutout style illustration is the work of artist Elsa Mora. Her intricate paper cutouts showcase the potential of this style and can serve as inspiration for your own creations.
2. Plan Your Composition
Before starting your illustration, it’s essential to plan your composition. Consider the subject matter and how it can be represented using paper cutouts. Think about the placement of different elements, the use of negative space, and how the overall composition will guide the viewer’s eye.
Creating a rough sketch or a digital mockup can help you visualize your composition and make necessary adjustments before diving into the actual creation process.
3. Choose the Right Materials
The choice of materials plays a crucial role in achieving the paper cutout style. While you can create digital illustrations that mimic this style, using actual paper cutouts can add a unique tactile quality to your work.
When selecting paper, opt for thicker cardstock or construction paper to ensure durability and stability. Consider the colors and textures of the paper as they can add depth and visual interest to your illustrations.
In addition to paper, you’ll need a sharp pair of scissors or a craft knife to cut out your shapes. A cutting mat or a piece of cardboard can protect your work surface and make the cutting process easier.
4. Experiment with Layering
Layering is a key technique in creating the illusion of depth in paper cutout illustrations. By placing different elements on top of each other, you can create a sense of dimension and make your artwork visually engaging.
Experiment with layering different shapes and colors to see how they interact with each other. Consider using foam adhesive dots or double-sided tape to create varying levels of elevation between layers.
5. Play with Shadows and Highlights
Shadows and highlights can add depth and realism to your paper cutout illustrations. By strategically placing shadows and highlights, you can create the illusion of light hitting your paper cutouts.
Consider the direction of the light source in your composition and use shading techniques to create shadows on the appropriate sides of your cutouts. Additionally, adding highlights to the edges of your shapes can make them appear more three-dimensional.
6. Use Bold Colors
One of the defining characteristics of paper cutout illustrations is the use of bold and vibrant colors. Experiment with different color combinations to create visually striking artwork.
Consider using complementary colors to create contrast and make your illustrations pop. Additionally, using a limited color palette can help create a cohesive and harmonious composition.
7. Pay Attention to Details
While the paper cutout style often involves simplified shapes, paying attention to details can elevate your illustrations. Add small embellishments, textures, or patterns to your cutouts to add visual interest and make your artwork more captivating.
For example, you can use a hole punch to create tiny circles that resemble polka dots or use a fine-tip marker to add intricate patterns to your shapes.
8. Combine Digital and Traditional Techniques
While creating paper cutout illustrations traditionally can be a rewarding process, combining digital and traditional techniques can offer additional flexibility and possibilities.
You can create your cutouts by hand, scan them into a computer, and then manipulate and arrange them digitally. This allows you to experiment with different compositions, colors, and textures without the need to start from scratch each time.
Summary
Creating illustrations with a paper cutout style offers a unique and visually appealing way to showcase your creativity. By understanding the key characteristics of this style, planning your composition, choosing the right materials, experimenting with layering, playing with shadows and highlights, using bold colors, paying attention to details, and combining digital and traditional techniques, you can create stunning paper cutout illustrations that captivate viewers.
Remember to study existing examples, such as the work of Elsa Mora, for inspiration and guidance. With practice and experimentation, you’ll be able to develop your own distinct style within the paper cutout genre.
